First post in a new series: Photo Fridays
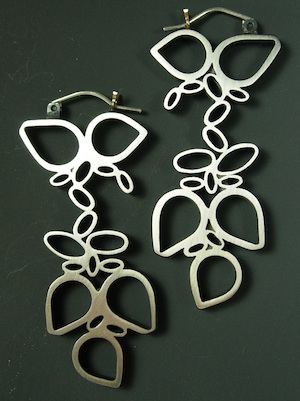
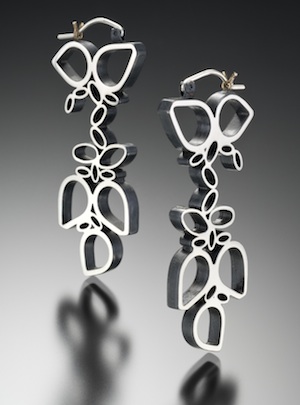
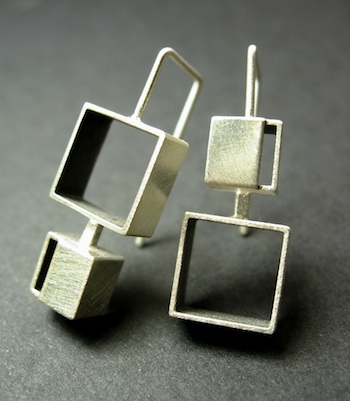
You have to look closely at Hilary Hachey’s website to tell the professional shots from those she took herself. Most look almost as though they were shot in black and white. Given that most of her work is in sterling and shot on a neutral background, monotone images serve to highlight form – which is what her jewelry is all about.
Like most established jewelry artists (Hilary’s work is featured in top-tier craft shows and the Artful Home catalog), she depends on professional images for publication, promotion and juried exhibitions. Every year she sends a few showpieces to Hap Sakwa, a jewelry photographer in Santa Rosa, CA, and considers the results well worth the investment.


Even without the hassles of color balance and tricky gem reflections, it’s taken Hilary years to master the art of photographing her jewelry. When I spoke to her, she had just photographed several pieces to post on her newly-revamped website and was so pleased with her results, she told her husband: “You know, I’m starting to get kind of good at this.”
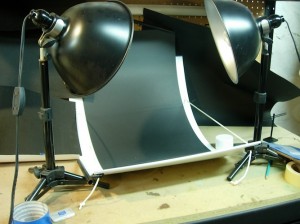
That feat is more impressive when you consider her entire “photography studio” (pictured below) cost about what she probably pays to have one piece shot professionally.

Sakwa’s images are the ones you see in the Flash slideshow that appears on the homepage of Hilary’s website. But she shot the majority of images herself using a Nikon Coolpix – your basic point-and-shoot. “I use the macro setting for closeup shots,” she says. “It’s alright. I could probably be doing better with an SLR.”
She doesn’t use a tripod. “I should have a tripod, I know,” she says. “When you don’t use flash, you get that shake.”
When she makes a new piece of jewelry and wants to post an image on her site, she sets her camera to the macro setting, positions her jewelry between two photographer’s lights (the kind with metal reflector umbrellas) on a plastic table-top backdrop lined with black background paper – all of which she bought online.
To get rid of unwanted reflections and the green hue florescent lights produce, she began masking the area around the shot with black fabric. Photoshop helps with that too, she says. “I lay the jewelry out and look at the shot on the camera’s digital screen. I hold the camera with one hand and move the lights around with the other,” she says. “When the light looks good, I stop moving it – very non-scientific!”

Hilary’s equipment:
• Nikon COOLPIX (current version: 6.1 MP with 26x zoom lens): $199
• Tabletop studio lighting set: $34
• Tabletop background stand with colored paper: $32
• Black background paper: $35
• 10×20′ black muslin backdrop: $38
• Adobe Photoshop: $550
Next Friday, we’ll hear from Lauren Schlossberg, who takes her jewelry photography as seriously as she takes the jewelry itself – and it shows.
Related posts:
How to photograph jewelry: DIY tips for successful designers #2
How to build your own website to sell your jewelry
How to photograph jewelry: tips from the pros
How to photograph jewelry: Photoshop tips from the pros
Free passes to International Gem & Jewelry Shows
Jewelry in the digital age: Ganoksin, CAD & romanticizing craft
Note: Buying through links on this site doesn’t cost you any extra but it does put a couple bucks toward the maintenance of this blog, so thanks in advance!
Related products:


