Shooting a great image is the first step with digital jewelry photography, as we explained here (the most popular post on this site). It also helps to understand a bit about photographing gems. After that, it’s all about fine-tuning on the computer. As any jewelry photographer will tell you, if you want to create images that sell, you’d better master Photoshop. To shorten your learning curve, masters of that art shared a few secrets.
Photographers who specialize in jewelry tend to have a lot of patience with detail. John Parrish makes a nice living shooting jewelry for glossy magazines and brandname designers but he got his start, he says, “because I was the only apprentice at a large photography studio who was willing to lay out a chain nicely and get all the dust off everything.”
Now he removes the dust on his computer—but it’s multiplied alarmingly. When he started in the business, everything was shot close to actual size on 8×10 film. Now when he opens a digital file on the computer, he’s looking at a 15 x18-inch image. “You have to go over every square inch for dust,” he says. Parrish replaced his photography assistant with a full-time computer operator.
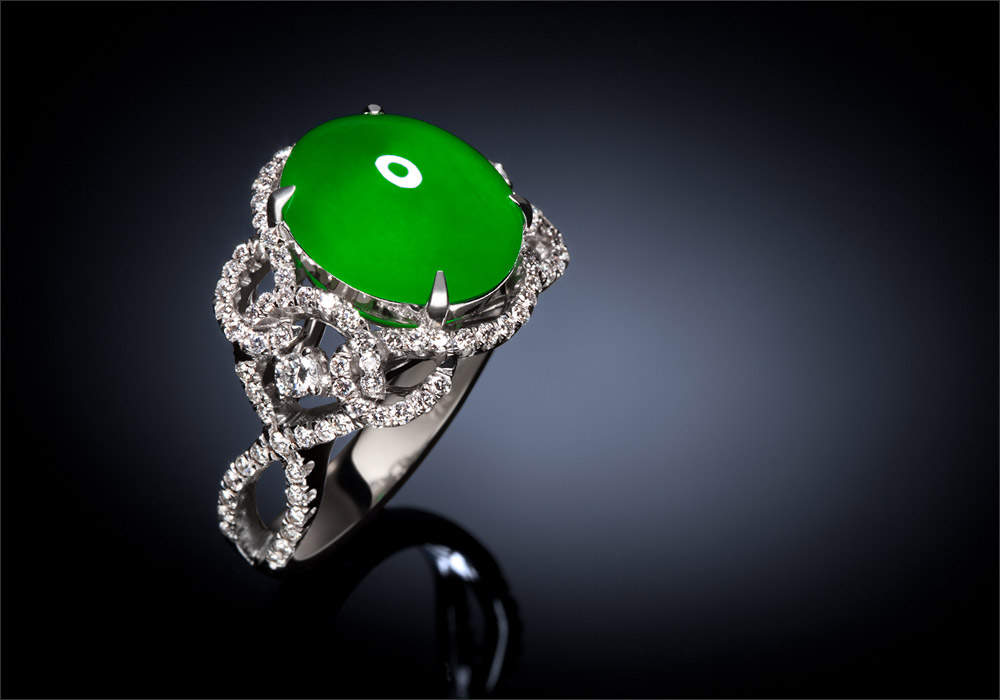
Some jewelry photographers tell me every hour they spend shooting an image means another hour tweaking it on the computer. Eydis Einarsdottir of Studio 80s in Vancouver spent six hours shooting the image above and eight hours retouching it on the computer. She’s so good at this, other photographers often hire her to do their retouching for them.
Many years of practice helped, as did working with Shu Akashi, a commercial photographer who shoots for Vogue and W and uses digital manipulation to transform product photography into an art form. “He takes retouching to an extremely high level, often combining images,” says Einarsdottir.
Not everyone can turn a necklace into a sci-fi fantasy the way Akashi does, but it’s not unusual for pros to combine five or more shots. “I shoot for a certain highlight from every angle, then layer up and layer up and layer up to get the jewelry to look the way you want people to see it – the way it looks in real life,” Einarsdottir says. “When you’re so close to a piece, you can spot every detail, every scratch on the metal – those little things the eyes don’t really see.”
If you’re doing the tweaking yourself, it pays to know your way around Photoshop – and it helps to have someone demonstrate. On web sites like lynda.com, for $25/month you can do as many tutorials as you make time for. (Disclosure: I became an affiliate of Lynda.com about two years after this was originally posted, which means I get a small commission if you sign up through a link on this site, but I made that recommendation long before.)
Photoshop is one of those things you get good at by doing it all the time. A few tips from the pros:
Use color balance. Einarsdottir processes her images in Photoshop Lightroom, starting off with color balance. “For the most part, color does not need much correcting because I shoot tethered for the most part and do my color balance with a gray card at the start of the shoot,” she says. If not shooting tethered (connected to a computer), she uses Expodisk as well as a gray card, then adjusts exposure, blacks, brightness, and contrast.
Use unsharp mask. Photographer Tino Hammid, who shoots jewelry for Christie’s catalogs, recommends this tool. “It’s something that sets the professional apart from the amateur,” says Hammid. “Sharpening is essential when you want that extra touch.”
In particular, he advises learning how to use the three sliders. “You really have to play with them to figure out ways to overcome problems like graininess,” he says. “You want to sharpen edges that are slightly fuzzy but leave others alone, especially the background which should be smooth.”
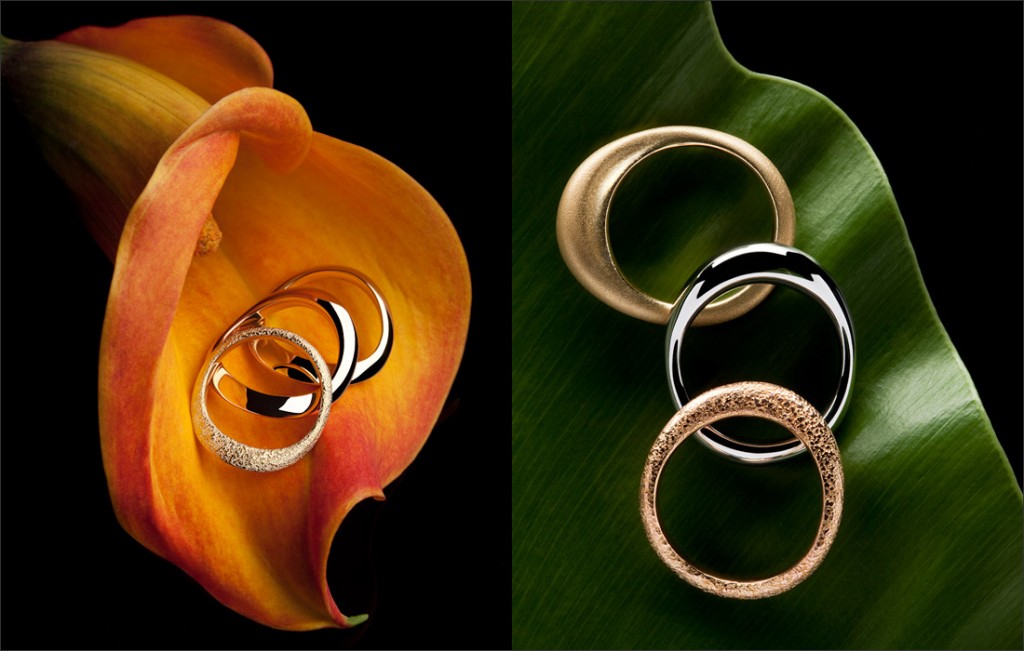
Go easy on the contrast. “You can overuse contrast,” Hammid says. “It’s critical to have enough but not too much. Rule of thumb: There should be something white, at least one tiny area, and one completely black area in a photograph in order to have the full dynamic range.”
Work in layers. Layers provide lots of flexibility. “Every layer increases the size of your file but I can’t begin to list the ways layers can be used,” Hammid says. “One tiny example is that you can make a global (overall) adjustment on a layer without applying it to the entire image, only certain areas. You make the change on one layer but still have a copy of the original and can clone little areas you want to change.”
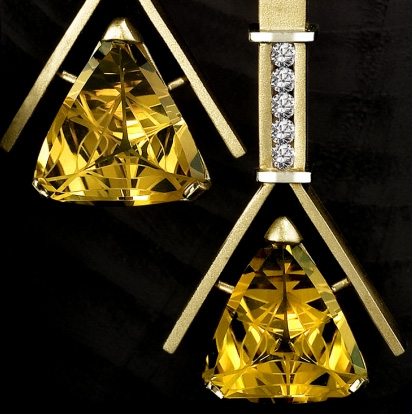
Tinnee Lee of Lee-Carraher Photography agrees that layers are the key to Photoshop because you can manipulate individual parts without changing the entire image. “I can sharpen just the diamonds on a ring without affecting the background,” she says. “The background can stay soft and neutral.”
John Parrish says his finished image is always made up of a number of color correction layers and focus layers. “I try to arrange it so that I can go back if I decide I don’t like something. If you do everything in layers, you can use the ‘history’ option in Photoshop, go back to a specific point and throw away a layer.”
Try the pen tool. To isolate a specific area of an image, Hammid draws a line around it using the pen tool. “This is my favorite tool,” he says. “It’s the most space efficient because a whole selection saves as a channel. The pen tool draws a line around the subject and creates a path. It can be controlled very nicely and creates beautiful curves, even bezier cruves (curves that change size or direction).”
Tinnee Lee uses the pen tool to cut paths, which allows her to dissect an image and work on each part individually. For instance, she’ll draw a line around the diamonds of a ring, another around the colored stones, and another around the shank. This allows her to sharpen the contrast on the diamonds and the shank while keeping the background soft and neutral. She also uses the pen tool to correct the color of a gemstone without affecting the rest of the image.
Experiment with Photoshop actions. If you don’t have hours to spend on retouching, you might try playing around with the “actions” in Photoshop. Photoshop and Illustrator offer batches of predefined tasks that can fix common problems in focus or exposure, soften skin tones, or turn an ordinary shot into an artsy one – like a vintage sepia-toned still life or the bleached effect of a magazine fashion spread. For a taste of what’s possible, here are 80 images using Photoshop actions, including before and after shots using Photoshop actions.
If you shoot product yourself, block out a few hours to play with Photoshop. You don’t have to be a pro to learn your way around the basic tools. If you’re shooting fine jewelry, retouching is crucial. “Jewelry is supposed to be so pretty. That’s the essence of it,” Einarsdottir says. “And it’s very expensive, so the photograph has to have that wow factor. You want to have it really without flaw.”
Eydis Einarsdottir’s equipment:
Canon EOS 5D Mark III 22.3-megapixel camera
Canon EF 100mm f/2.8 macro lens
Tino Hammid’s equipment:
Mamiya M645-AFD III medium format camera
Mamiya Leaf Aptus-II 33MP digital back
Visit my Jewelry Photography store on Amazon for more affordable solutions.
More tips on shooting jewelry

