If you deal with jewelry, you probably tried to photograph it at some point – and came away with a new appreciation for those glossy images in magazines. How do the pros get gems and jewelry to look like that?
The short answer: It ain’t easy. If it were, they wouldn’t be making the big bucks.
As jewelry photographer John Parrish puts it: “Nobody in their right minds would want to shoot jewelry. Everything is so tiny and hard to manipulate. You’re always working in about three or four square inches and trying to create depth and detail. And if the jewelry has gemstones as well as metal, you’re trying to light the inside of the stones, not the outside particularly.”
But even after 25 years, Parrish still gets a thrill photographing the latest treasures from designers like Mark Schneider and AGTA’s Spectrum Award winners. Other pro shooters say the same – including Tino Hammid, who photographs gems and jewelry for Christie’s catalogs, and Tinnee Lee of Lee-Carraher Photography, who shoots for magazines and retailers.
Fortunately for those trying to photograph jewelry on their own, these pros shared a few of their hard-won secrets here.
1. Take time to set up the shot.
“A lot of people think digital photography has made it so easy to point and shoot, but if you come to my studio you’ll find the shot isn’t ready to go until you just about can’t see what we’re doing any more,” says Parrish. “There are so many little mirrors, stands, cards – all sorts of stuff to manipulate and control the light.”
Unless you’re photographing a necklace or bracelet that you can drape over a prop, you’ll need to hold the jewelry in place. Most pros use wax for this. Parrish warns that jewelry wax is very oily. “Be careful how much you use,” he advises. “Touch something else and you get fingerprints all over everything.”
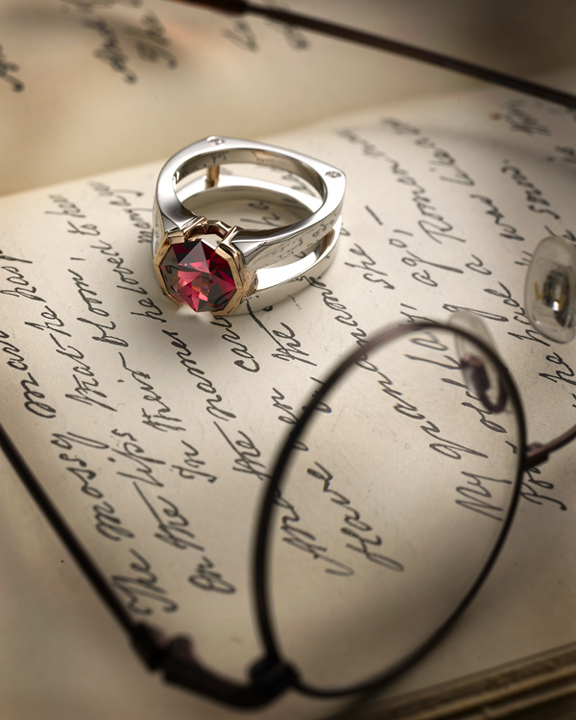
Parrish uses soft boxes to create an even, soft light and mirrors of all sizes, from an inch square to a foot and a half wide. He positions the tiny mirrors to cast highlights in particular spots.
2. Get the light right.
The most common problem with jewelry photos is poor lighting. (Focus and color issues tie for second.) There are several ways to remedy this. Lee uses strobe lights. Hammid uses tungsten lights. Parrish uses a combination of tungsten, strobe and HMI lights, depending on the shoot. “Tungsten provides a constant light, like HMIs, but the wrong color—yellow,” says Parrish. HMIs produce an intense, daylight-colored light but can set you back $2,000, while a good tungsten light costs less than $500.
Good news for DIY photographers: Most mid-range consumer cameras come with a light balance which you can set to read tungsten light as white instead of yellow. “This is a great advantage of digital,” Hammid says. “It’s much more forgiving of light sources than film.”
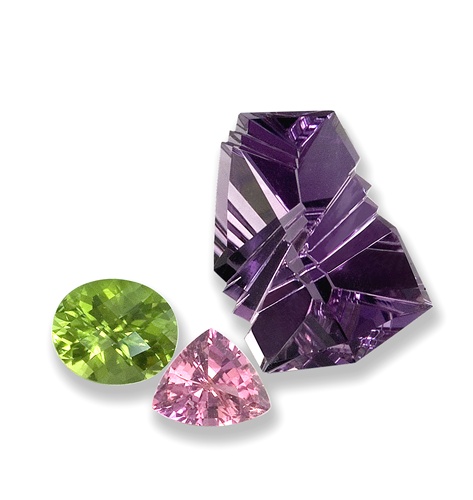
As long as you stick to one light source at a time, you can set your camera to read it as white light. Just don’t mix sources. You can’t use tungsten and fluorescent at the same time, for example, or candlelight and strobe. Even natural daylight can vary, cloudy days producing bluish light and sunny days more yellow.
Many jewelry photographers avoid tungsten lights because they get hot enough to melt the wax used to set their jewelry up.
Hammid recommends a small, portable halogen lamp with a diffuser. A few companies produce light boxes designed specifically for photographing gems and jewelry. MyStudio offers several well-reviewed tabletop kits for product photography (see “related products” below) including one designed specifically for jewelry photography.
3. Build your own light box – or shoot outside.
Michael Dyber‘s wife, Sena, photographs his gem carvings using a lampshade with holes cut in it to diffuse the light. You can do the same with a Rubbermaid box or a sheet draped over part of a box.
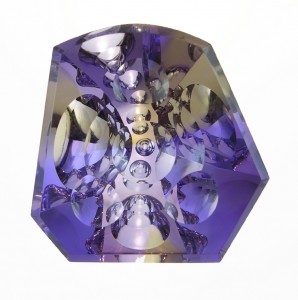
The most inexpensive – and some would say the best – light source is Mother Nature. “Ideally, if you can shoot jewelry outside in the daylight, all you need is the camera,” says Parrish. “But if you want to control the light and look at specific things in a stone, the set-up can get too complicated for that.”
Setting up a jewelry shoot outdoors has its drawbacks but if you choose the right time of day, you can get an even, flattering light. Lee recommends shooting at 7:30 am, 7:30 pm, or on a slightly overcast day. (She lives in San Francisco so has plenty of these.)
4. Use props for contrast and texture.
Tino Hammid’s equipment
Mamiya M645-AFD III medium format camera (on Adorama)
Mamiya Leaf Aptus-II 33MP digital back (on Adorama)
Related posts:


